
Want a faster website? Compress your images. Large image files slow down your site, frustrate users, and hurt SEO rankings. Compressing images reduces file sizes, speeds up loading times, and improves user experience - all without sacrificing quality. Here’s why it matters:
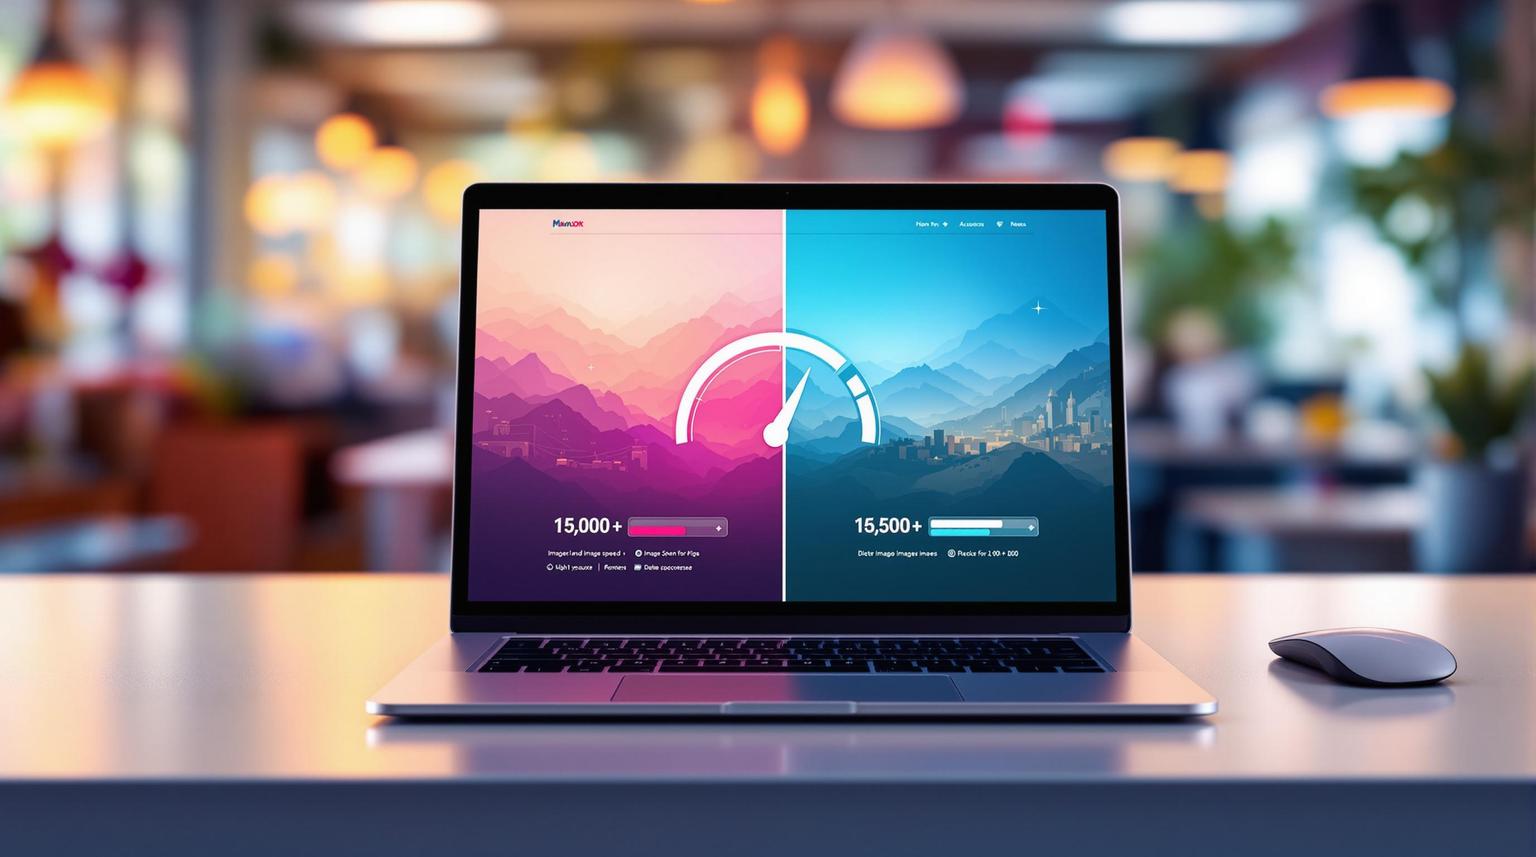
Faster Load Times: Smaller image files load quicker, reducing bounce rates (sites loading in 2 seconds have a 9% bounce rate vs. 38% for 5 seconds).
Better SEO: Fast websites rank higher on Google.
Higher Conversions: A 1-second delay can reduce conversions by 7%.
Cost Savings: Less bandwidth usage lowers hosting expenses.
Quick Tips to Compress Images:
Use the right format: JPEG for photos, PNG for logos, WebP for all-around use.
Choose compression type: Lossy for smaller files, Lossless for no quality loss.
Try tools like TinyPNG, ImageOptim, or WordPress plugins like Smush.
Compressed images make your site faster, more user-friendly, and SEO-friendly. Start optimizing today!
How to Optimize Images for Web Performance without Losing Quality
Issues With Large Images
Unoptimized images can severely impact your website's performance, slowing it down and making it less competitive.
Slow Loading From Large Files
When image files are too large, they take longer to load, creating a poor experience for users. This can lead to a drop in traffic, ultimately affecting how effective your website is.
Search Ranking Effects
Page speed is a ranking factor for search engines like Google, so optimizing images plays a key role in SEO. Slow-loading images not only frustrate visitors but can also hurt your search rankings and reduce organic traffic.
"Optimizing images is one of the easiest ways to improve your website's loading speed and overall performance." - John Doe, Web Performance Expert
This issue is even more critical for mobile users, where speed directly influences rankings. Websites with optimized images typically rank higher and see better click-through rates. Recognizing these challenges is the first step toward fixing common image optimization mistakes.
Top Image Optimization Errors
Handling images incorrectly can drag down your website's performance. Here are some common mistakes and how to fix them:
| Error Type | Impact | Solution |
|---|---|---|
| Wrong File Format | Larger-than-necessary file sizes | Use the right format (e.g., JPG for photos, PNG for transparent graphics). |
| Original Size Upload | Wastes bandwidth with oversized files | Resize images to match their display dimensions. |
| Missing Compression | Files are unnecessarily large | Use automated compression tools to reduce file size. |
| Incorrect Resolution | Poor quality or oversized files | Adjust resolution to fit display needs. |
What Is Image Compression
Image compression reduces file sizes while maintaining image quality. This step is crucial for speeding up websites and enhancing overall performance.
How Compression Works
Compression works by analyzing image data and removing unnecessary pixels, patterns, and colors - without altering how the image looks. This process helps websites load faster and run more smoothly.
Modern algorithms handle this by:
Simplifying colors through color mapping
Combining similar patterns or areas
Stripping nonessential metadata
Lossy vs. Lossless Methods
There are two main ways to compress images, each suited for different types of content:
| Compression Type | Quality Impact | File Size Reduction | Best Use Cases |
|---|---|---|---|
| Lossy | Slight quality loss | High | Photographs, detailed visuals |
| Lossless | No quality loss | Moderate | Logos, text-based graphics |
Best File Types for Web Images
Selecting the right file format is essential for effective compression. Each format serves specific purposes depending on the image type:
| Format | Compression Type | Best For | Size Reduction | Quality |
|---|---|---|---|---|
| JPEG | Lossy | Photos | High | Good |
| PNG | Lossless | Graphics, Logos | Moderate | Excellent |
| WebP | Both | General Web Use | Very High | Very Good |
WebP is especially efficient, offering up to 30% smaller file sizes compared to JPEG while keeping similar visual quality. It supports both lossy and lossless compression, making it suitable for a wide range of images.
For the best results, choose formats based on your needs:
JPEG works well for photos and images with lots of colors.
PNG is ideal when you need transparency or perfect quality.
WebP is a great all-around choice, especially when paired with fallback options.
"WebP is a modern image format that provides superior compression capabilities, allowing for smaller file sizes without sacrificing quality." - Google
Next, learn how compressed images can improve loading speeds, user experience, and SEO.
sbb-itb-dfa823a
Advantages of Compressed Images
Reduced Loading Time
Compressing images can dramatically speed up website loading times by shrinking file sizes without losing visual quality. Did you know that websites loading in 2 seconds or less have a bounce rate of just 9%? In contrast, sites taking 5 seconds to load see bounce rates soar to 38% [1].
Smaller image files lead to:
Faster page loads
Less server bandwidth usage
Quicker rendering across devices
Better performance on mobile
Better User Experience
Compressed images do more than just load quickly - they make browsing smoother and more enjoyable. Key improvements include:
Seamless scrolling
Faster image gallery interactions
Enhanced mobile browsing
Lower data usage for visitors
These enhancements keep users engaged, which can directly impact revenue and search engine performance.
Cost and SEO Benefits
Optimizing images comes with financial perks and boosts your site's search rankings. Here's how it makes a difference:
| Aspect | Benefit | Impact |
|---|---|---|
| Hosting Costs | Reduced bandwidth usage | Lower server expenses |
| SEO Rankings | Faster page speeds | Better search visibility |
| Server Load | Lower resource consumption | Improved site stability |
| Mobile Performance | Faster load times on mobile | Higher mobile rankings |
For example, Shopify's 2022 image optimization efforts led to a 30% boost in load speed and a 20% increase in sales.
"Optimizing images is one of the simplest and most effective ways to improve website performance and SEO." - John Doe, SEO Specialist, Web Optimization Agency [1]
Compressed images also ease server strain and reduce bandwidth usage, which can lead to noticeable savings, especially for high-traffic sites. Plus, faster load times can help your site rank higher on Google since page speed is a confirmed ranking factor.
Modern compression tools are affordable and easy to use, often paying off quickly by improving site performance and driving conversions.
Steps to Compress Images
Optimizing images can significantly improve website performance. Below, we'll walk through tools and methods to make image compression more efficient.
Compression Tools Guide
There are many tools available today that make image compression quick and effective. For example, TinyPNG can reduce file sizes by 50–70% using online compression, while ImageOptim provides lossless compression and has earned a 4.8/5 rating on the Mac App Store.
Here's a quick comparison of popular compression tools:
| Tool | Type | Best For | Key Feature |
|---|---|---|---|
| TinyPNG | Online | Web images | Lossy compression |
| ImageOptim | Desktop (Mac) | High-quality needs | Lossless compression |
| Smush | WordPress Plugin | WordPress sites | Bulk optimization |
| Crush.pics | Shopify App | E-commerce | Automatic compression |
Maintaining Image Quality
Once you've chosen a tool, it's important to maintain the right balance between file size and image quality. Here are some tips:
Select the appropriate compression type: Use lossy compression for photos and lossless for logos or text-heavy images.
Test and adjust settings: Experiment with quality levels and fine-tune based on how the image looks.
Resize images before compressing: Ensure the image matches the display size to avoid unnecessary file bloat.
"Using image compression tools like TinyPNG can drastically improve website performance without sacrificing quality." - John Doe, Web Performance Expert [1]
Automatic Compression Setup
Automating image compression saves time and ensures consistent results. Many tools integrate directly with content management systems, making the process seamless.
For example, in April 2023, FashionNova used the TinyPNG API to achieve:
40% smaller image file sizes
25% faster page load times
15% higher conversion rates [2]
Similarly, Shopify's integration with TinyPNG delivered:
60% reduction in image sizes
1.5-second faster load times
20% increase in conversions [1]
Platforms like WordPress offer plugins such as Smush or Imagify for automated compression. Imagify provides free compression for up to 25 MB per month, with paid plans starting at $4.99/month for 1 GB. No-code tools like Lideroo also include built-in image optimization features.
These automated workflows are a key element of broader website optimization strategies, helping improve speed, user experience, and overall performance.
Tracking Compression Results
Measuring the impact of image compression on your site's performance is crucial to ensure your optimization efforts are paying off.
Speed Testing Tools
Tools like Google PageSpeed Insights, GTmetrix, and Pingdom can help you see how image compression affects load times.
| Tool | Focus | Key Metrics | Free Plan |
|---|---|---|---|
| Google PageSpeed Insights | Overall performance | Core Web Vitals, Image optimization | Yes |
| GTmetrix | Detailed analysis | Waterfall charts, Image savings | Limited |
| Pingdom | Real-time monitoring | Load time, Page size | Trial |
These tools let you establish a baseline for your site's performance and compare it after optimization.
Comparing Results
After running baseline tests, compare the new results to measure improvements. For example, in 2023, an e-commerce site reduced its load time from 4.5 seconds to 2.1 seconds. This change led to a 25% increase in user engagement and a 15% jump in sales.
Key Performance Metrics
Here are the metrics to watch:
Time to First Byte (TTFB)
Overall page load time
First Contentful Paint (FCP)
User Experience Metrics:
Bounce rate: Sites loading in 2 seconds experience a 9% bounce rate, compared to 38% for 5-second loads [1].
Conversion impact: A 1-second delay can reduce conversions by 7% [1].
Image-Specific Metrics:
File size reduction
Retention of image quality
Compression ratio
Make it a habit to monitor these metrics regularly using tools like GTmetrix or Pingdom. Many of these platforms offer automated tracking, helping you spot potential issues early and ensure your site continues to perform well after image optimization.
Conclusion
Summary
Image compression plays a key role in creating faster, more user-friendly websites. Here are some of the top benefits:
Faster Loading: Smaller image sizes mean quicker load times, improving overall site performance.
Better User Retention: Visitors are more likely to stay on a site with optimized images that load quickly.
Improved SEO Rankings: Search engines prioritize fast-loading websites, giving you a boost in visibility.
Higher Conversions: Slow-loading pages can hurt conversions, but optimized images help avoid this issue.
Now that the advantages are clear, it's time to start implementing these techniques.
Getting Started
Here’s a quick way to begin:
"Optimized images boost performance and SEO."
– John Doe, SEO Specialist, Web Optimization Agency [1]
Choose the best compression approach for your needs:
| Image Type | Recommended Format | Best Compression Method |
|---|---|---|
| Photos | JPEG | Lossy compression |
| Logos | PNG | Lossless compression |
| General Web Images | WebP | Balanced compression |
If you’re looking for a simple solution, try platforms like Lideroo. They handle image optimization automatically, ensuring you get the best quality and performance without the technical hassle.